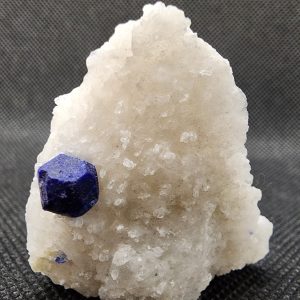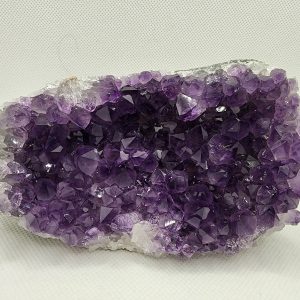
Minerals and crystals, with their captivating beauty and unique properties, are treasures of the Earth. However, over time, they can fall victim to various contaminants that dull their shine and obscure their natural splendor. Understanding these common mineral contaminants is essential for collectors and enthusiasts alike, as it empowers them to employ the right cleaning methods and preserve the integrity of their prized specimens. In this comprehensive guide, we delve into the origins, impacts, and removal techniques for common mineral contaminants, equipping readers with the knowledge needed to maintain the brilliance of their mineral collections.
From dirt and dust accumulated through exposure to the elements to stubborn stains caused by rust and mineral deposits, the contaminants that mar mineral surfaces come in various forms. Each presents unique challenges, requiring tailored cleaning approaches to ensure effective removal without causing harm. By exploring the intricacies of these contaminants, collectors gain insight into the delicate balance between preservation and restoration, enabling them to safeguard the beauty and value of their mineral specimens for generations to come.
Understanding the types of mineral contaminants that can affect minerals and crystals is crucial for selecting the appropriate cleaning methods. Each contaminant requires specific handling to effectively remove it without damaging the mineral. This section provides a comprehensive overview of common contaminants and how to safely and effectively remove them.
Minerals and crystals can become dirty due to various contaminants. Here, we discuss the origin of these contaminants, how they affect the minerals, and the best methods to remove them safely.
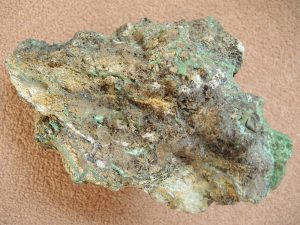 Dirt and dust are among the most common contaminants affecting mineral specimens. These particles accumulate over time, dulling the natural shine and obscuring intricate details. Proper cleaning methods can restore the mineral’s original luster and prevent further damage.
Origin:
Impact:
Removal Methods:
 Grease and oil, often transferred from handling or environmental exposure, can leave mineral specimens looking dull and sticky. These contaminants not only attract more dirt but also obscure the natural beauty of the minerals. Effective cleaning techniques are essential to restore their original shine and prevent further buildup.
Origin:
Impact:
Removal Methods:
Mild Detergent Solution:
Isopropyl Alcohol:
Cornstarch or Talcum Powder:
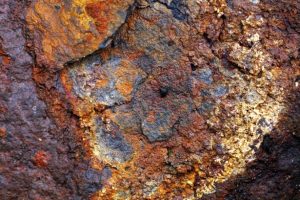
Rust, or iron oxide, forms when minerals containing iron are exposed to moisture, creating unsightly reddish-brown stains. This contaminant can significantly detract from the appearance and integrity of mineral specimens. Effective removal techniques are essential to restore their natural beauty and prevent further deterioration.
Origin:
Impact:
Removal Methods:
Oxalic Acid:
Hydrochloric Acid:
Mechanical Scraping:
 Calcite and lime deposits form from hard water or groundwater, leaving white or cloudy layers on mineral surfaces. These deposits can obscure the natural color and beauty of your specimens. Effective cleaning methods are essential to dissolve and remove these unwanted coatings, restoring the mineral’s original appearance.
Origin:
Impact:
Removal Methods:
Hydrochloric Acid:
Vinegar:
Mechanical Scraping:
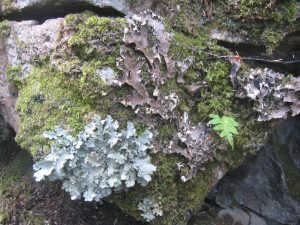
Organic material such as algae and lichen can grow on minerals exposed to moisture and light, particularly those kept outdoors or in humid environments. These growths can discolor and obscure the natural features of the mineral specimens. Effective cleaning techniques are necessary to remove organic contaminants and restore the mineral’s natural beauty.
Origin:
Impact:
Removal Methods:
Bleach:
Hydrogen Peroxide:
Manual Removal:
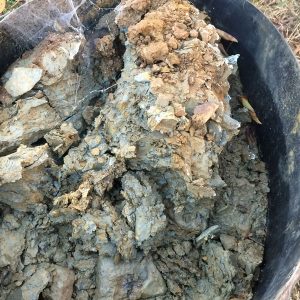 Clay and mud commonly adhere to minerals collected from the ground, especially those from mining sites. These contaminants can embed deeply into crevices, obscuring the natural beauty of the specimens. Proper cleaning methods are crucial to effectively remove these deposits and reveal the minerals’ true appearance.
Origin:
Impact:
Removal Methods:
Soaking:
Soft Brushing:
Ultrasonic Cleaning:
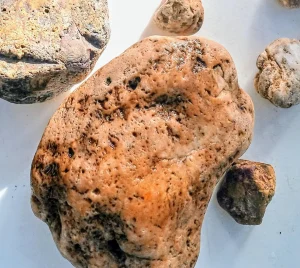 Mineral stains, often caused by the oxidation of metals like copper and iron, can leave unsightly discolorations on mineral specimens. These stains detract from the natural beauty and value of the minerals. Effective cleaning techniques are essential to remove these stains and restore the specimens to their original splendor.
Origin:
Impact:
Removal Methods:
Acids (Oxalic, Hydrochloric):
Chelating Agents:
Commercial Stain Removers:
Understanding the types of contaminants that can affect your mineral specimens is the first step towards effective cleaning and preservation. Each contaminant requires specific methods and precautions to ensure that your minerals are restored to their natural beauty without being damaged. Always consider the properties of your minerals and test cleaning methods on a small area first to avoid unintended damage. By using the right techniques, you can maintain the aesthetic and intrinsic value of your mineral collection.
Discover our exquisite collection of minerals, crystals & gemstones. Whether you’re seeking a striking piece of jewelry or a unique addition to your gem collection, our unique treasures offer something special for everyone. Explore now and find your perfect gem.
